Overview:
PowerApps is a suite of apps, services, connectors and data platform that provides a rapid application development environment to build custom apps for your business needs. Meanwhile Using Power Apps, you can quickly build custom business apps that connect to your business data stored either in the underlying data platform (Common Data Service) or in various online and on-premises data sources (SharePoint, Excel, Office 365, Dynamics 365, SQL Server, and so on).
Further, apps built using Power Apps have a responsive design, and can run seamlessly in browser or on mobile devices (phone or tablet).
Power Apps also provides an extensible platform that lets pro developers programmatically interact with data and metadata, apply business logic, create custom connectors, and integrate with external data.
Using Power Apps, you can create three types of apps:
1. Canvas
2. Model – driven
3. Portal
PowerApps for App creators:
- Power Apps Studio is the app designer used for building canvas apps. Thus the app designer makes creating apps feel more like building a slide deck in Microsoft PowerPoint.
- App designer for model-driven apps lets you define the sitemap and add components to build a model-driven app.
PowerApps for app Users:
PowerApps for app Users:
You can run apps that you created ,or that someone else created and shared with you, in browser or on mobile devices (phone or tablet).
Powerapps for admins:
Power Apps admin center (admin.powerapps.com) to create and manage environments, users, roles, and data-loss prevention policies.
PowerApps for Developers:
Developers are app makers who can write code to extend business app creation and customization. Developers can use code to create data and metadata.
Create a Canvas App in PowerApps from Sharepoint List:
In this topic, you’ll use Power Apps to create a canvas app based on items in a SharePoint list. You can create the app from within Power Apps or SharePoint Online. From within Power Apps, you can create the app based on a list in an on-premises SharePoint site if you connect to it through a data gateway.
The app that you create will contain three screens:
- In the browse screen, you can scroll through all items in the list.
- In the details screen, you can show all information about a single item in the list.
- In the edit screen, you can create an item or update information about an existing item.
You can also apply the concepts and techniques in this topic to any list in SharePoint. To follow the steps exactly:
- In a SharePoint Online site, create a list named SimpleApp.
- In a column named Title, create entries for Vanilla, Chocolate, and Strawberry.
Create an app from within Power Apps:
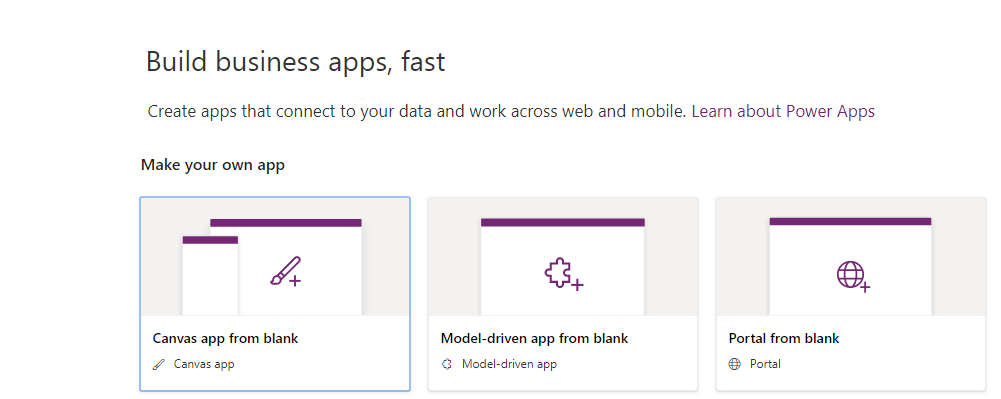
- Sign in to Power Apps.
- Under Make your own app, Click on Canvas app from blank
3. Open pop- up then add App Name select Phone layout.
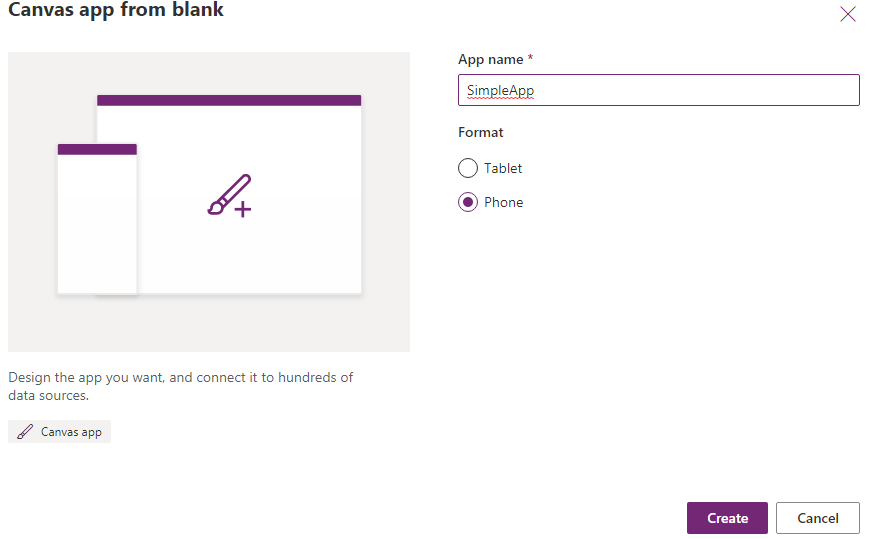
4. With the Connect directly option selected, select Create.
Under Connect to a SharePoint site, type or paste the URL for your
5. SharePoint Online site, and then select Go.
Include only the site URL (not the name of the list), as in this example:https://microsoft.sharepoint.com/teams/Contoso
6. Under Choose a list, select SimpleApp, and then select Connect.
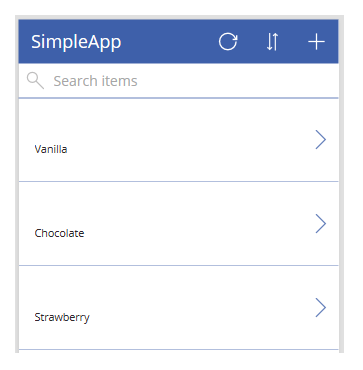
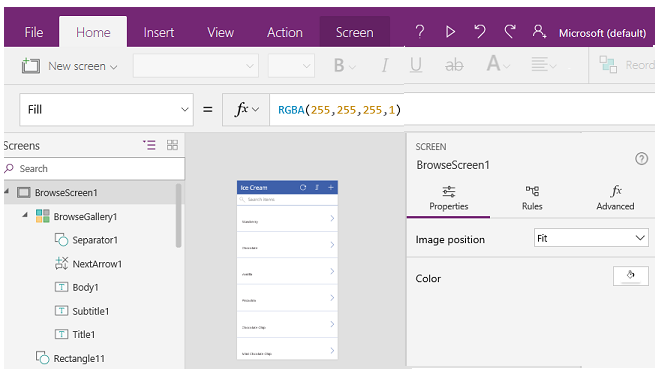
After a few minutes, your app opens to the browse screen, which shows the items that you created in your list. If your list has data in more columns than just Title, the app will show that data. Near the top of the screen, a title bar shows icons for refreshing the list, sorting the list, and creating an item in the list. So under the title bar, a search box provides the option to filter the list based on text that you type or paste.
You’ll probably want to make more changes before you use this app or share it with others. As a best practice, save your work so far by pressing Ctrl-S before you proceed . Then publish your App.
Create an app from within SharePoint Online
If you create an app of a custom list from the SharePoint Online command bar, the app appears as a view of that list. You can also run the app on an iOS or Android device, in addition to a web browser.
1. In SharePoint Online, open a custom list, select PowerApps on the command bar, and then select Create an app

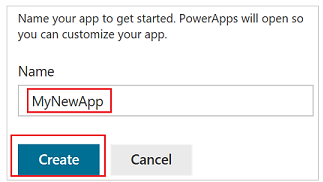
2. In the panel that appears, type a name for your app, and then select Create.
A new tab appears in your web browser that shows the app that you created based on your SharePoint list. The app appears in Power Apps Studio, where you can customize it.
(optional) Refresh the browser tab for your SharePoint list (by selecting it and then, for example, pressing F5), and then follow these steps to run or manage your app:
- To run the app (in a separate browser tab), select Open.
- To let others in your organization run the app, select Make this view public.To let others to edit your app, share it with Can edit permissions.
- For remove the view from SharePoint, select Remove this view.To remove the app from Power Apps, delete the app.
Benefits of PowerApps
- It helps in building connections with cloud services such as Dropbox, OneDrive, Salesforce, Office 365 and Dynamics CRM.
- It accelerates the time taken for building an app.
- Create interfaces that can perform CRUD operations
- It is easy to share PowerApps. Any user can share the apps built by them to their coworkers.
- Create basic apps from readymade templates
- Share custom business apps with your team in the organization
- Customize your existing business apps
Learn more about Sharepoint check in https://integrano.com/leading-sharepoint-development-organization/